Introduction
A bathroom installation project—whether part of a new home build or a complete remodel—can significantly improve your daily routine, property value, and overall quality of life. But installing a bathroom isn’t just about aesthetics; it involves plumbing, electrical work, ventilation, waterproofing, tiling, and fixture setup.
Done right, a bathroom installation combines function and beauty to create a space that fits your lifestyle and enhances your home.This comprehensive guide breaks down every element of bathroom installation, from pre-planning and budgeting to layout optimization, materials selection, and working with contractors.
Whether you’re planning a DIY renovation or hiring a professional team, this guide equips you with everything you need to know.
| Category | Details |
| Installation Steps | 1. Planning and Design 2. Demolition 3. Plumbing and Electrical 4. Flooring and Walls 5. Fixtures Installation 6. Finishing Touches |
| Average Cost | $6,000 – $15,000 (varies by size, materials, and labor) |
| Labor vs. DIY | Professional: Faster, code-compliant DIY: Budget-friendly, time-intensive |
| Popular Fixtures | Toilet, vanity, bathtub/shower, sink, mirror, lighting |
| Material Choices | Tiles (ceramic, porcelain), quartz/granite counters, acrylic tubs/showers |
| Plumbing Considerations | Drainage slope, pipe layout, water pressure |
| Electrical Needs | GFCI outlets, proper lighting zones, ventilation fans |
| Design Tips | Optimize space, use neutral palettes, add storage, ensure proper ventilation |
| Timeline | 2–4 weeks (standard full remodel) |
| Common Pitfalls | Poor waterproofing, mismeasured fixtures, delays in permits or materials |
Planning Your Bathroom Installation
Define Your Needs and Goals
Before picking up a wrench or calling a plumber, clearly define what you need:
- Is this a master bathroom, powder room, or guest bath?
- Are you seeking a luxury spa vibe or basic functionality?
- What’s your timeline and budget?

Bathroom Types
- Full Bathroom – Includes a toilet, sink, bathtub, and shower.
- Three-Quarter Bathroom – Toilet, sink, and either a shower or a tub.
- Half Bathroom – Just a toilet and sink; great for small homes or guests.
- Wet Room – The Entire space is waterproofed with an open shower.
Budgeting for Bathroom Installation
Bathroom installation costs vary depending on your location, materials, and labor. On average:
| Type of Installation | Estimated Cost (USD) |
| Basic Bathroom Remodel | $3,000 – $8,000 |
| Mid-Range Full Installation | $8,000 – $15,000 |
| High-End Custom Installation | $15,000 – $35,000+ |
Key Cost Factors:
- Labor (plumbing, electricians, tilers)
- Fixtures (toilet, vanity, tub, shower)
- Flooring and tiles
- Waterproofing materials
- Ventilation systems
- Permits and inspections
Step-by-Step Bathroom Installation Process
Step 1: Demolition (For Remodels)
Remove old tiles, fixtures, and drywall carefully. Ensure water and electricity are shut off before beginning.
Step 2: Plumbing and Electrical Work
Professionals install or re-route pipes, drains, and wiring. Ensure all systems meet building codes.
Step 3: Waterproofing and Insulation
Install cement boards, membranes, or sealants to protect walls and floors from moisture damage.
Step 4: Flooring Installation
Popular bathroom flooring materials include:
- Ceramic/porcelain tile
- Vinyl planks
- Natural stone
- Waterproof laminate
Step 5: Wall Tiling and Painting
Install wall tiles in wet areas, then paint remaining sections with mold-resistant bathroom paint.
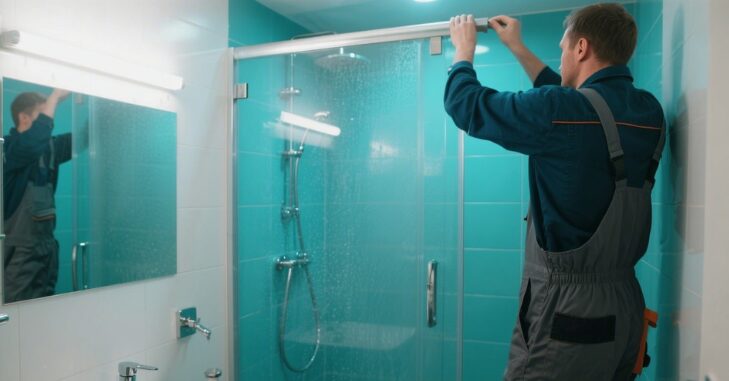
Step 6: Install Fixtures
This includes the toilet, sink/vanity, shower, bathtub, lighting fixtures, and mirrors.
Step 7: Final Touches
Add storage, towel bars, shelves, accessories, and clean the space thoroughly.
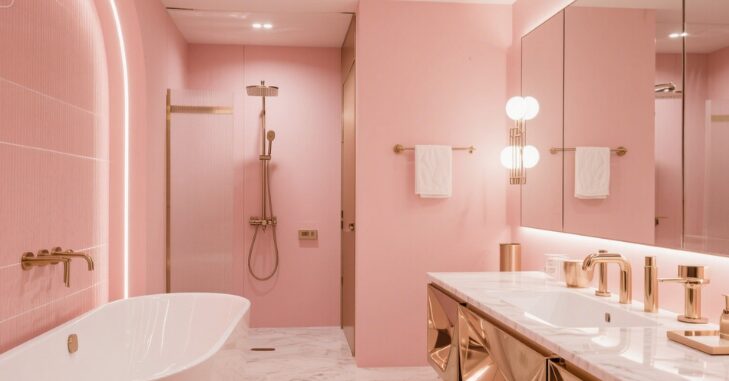
Importance of Ventilation, Waterproofing, and Efficiency in Bathroom Installation
A well-planned bathroom installation also depends heavily on long-term durability features such as proper ventilation and high-quality waterproofing systems. Installing an efficient extractor fan helps control humidity levels, reducing the risk of mold growth and protecting tiles, paint, and cabinetry from moisture damage over time.
Modern installations often use advanced waterproofing membranes beneath tiles to create a sealed barrier that prevents leaks from reaching the underlying structure. In addition, choosing water-efficient fixtures like low-flow toilets and aerated taps can significantly reduce utility bills while supporting sustainable living. Paying attention to these technical details during installation ensures the bathroom not only looks good but also remains safe, efficient, and low-maintenance for years.
Material Selection Tips
Tile Choices
- Porcelain: Durable and water-resistant
- Glass: Stylish and modern, great for accents
- Natural Stone: Elegant but requires sealing
Fixture Finishes
- Chrome: Affordable and easy to match
- Brushed Nickel: Soft matte look
- Matte Black: Bold and contemporary
- Brass/Gold: Warm and vintage-inspired
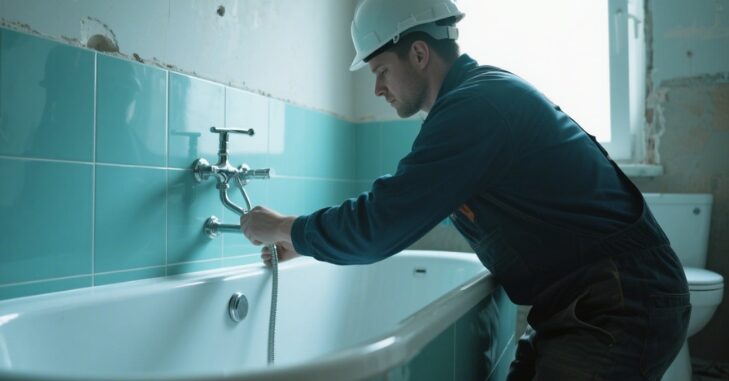
DIY vs. Hiring a Professional
DIY Bathroom Installation
| Pros | Cons |
| Saves money on labor | Risk of code violations or improper waterproofing |
| Full creative control | Physically demanding and time-intensive |
Hiring a Pro
| Pros | Cons |
| Experience ensures quality | Higher overall cost |
| Licensed work meets safety regulations | Less hands-on control |
| Faster turnaround |
Permits and Inspections
Depending on your location, you may need permits for:
- Plumbing work
- Electrical upgrades
- Structural changes
Always schedule inspections to ensure code compliance before covering walls or connecting fixtures.
Timeline of a Standard Bathroom Installation
| Installation Phase | Time Estimate |
| Planning & Permits | 1–2 weeks |
| Demolition | 1–3 days |
| Plumbing/Electrical | 3–5 days |
| Waterproofing | 1–2 days |
| Flooring & Tiling | 3–7 days |
| Fixture Installation | 2–3 days |
| Finishing Touches | 1–2 days |
Total Time: ~3–4 weeks for full installation
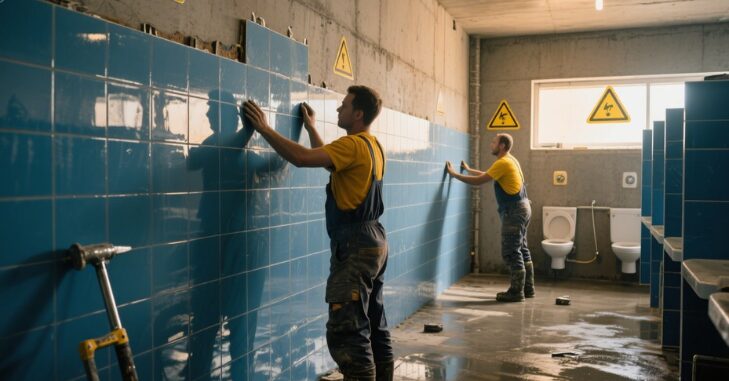
Tips for a Smooth Bathroom Installation
- Double-check measurements for fixtures
- Order materials in advance to avoid delays
- Label plumbing and electrical lines clearly
- Prioritize ventilation to prevent mold
- Choose timeless design over fleeting trends for long-term appeal
Conclusion
A bathroom installation is a transformative investment that adds comfort, utility, and value to your home. Whether you’re installing a compact powder room or a luxurious master bath, understanding the process from start to finish is essential for making informed decisions.
With thoughtful planning, quality materials, and the right team (or DIY mindset), your new bathroom can serve as a stylish and functional oasis for years to come.
If you want to read an interesting article about it, explore our “Bathroom” category.
FAQs
It depends on local regulations. Many areas require permits for plumbing and electrical work, so it’s essential to check with your local building authority.
Yes, you can install a bathroom yourself if you have the necessary skills and tools. However, for plumbing and electrical work, it’s often best to hire licensed professionals.
Popular options include ceramic and porcelain tiles for their durability, as well as vinyl for a cost-effective and water-resistant solution.
Consider compact fixtures, wall-mounted storage, and clever layouts to maximize usability without overcrowding the space.